Step 1: Creating you models or scene using Autodesk Maya
Download: Maya – Free Student Version
Important initial settings: Autosave, Incremental save and undo
Task 1 Creating a Barrel: Barrel Tutorial Video(Includes use of box modelling, move, rotate, scale, extrusion, duplication)
Task 2.1 Low Poly Chair: Creating a low poly chair Tutorial (Includes use of box modelling, offset extrusion, merging, symmetry, bevel and soft select)
Task 2.2 Low poly Table with nCloth FX: Creating a low ploy Table with nCloth (Use of nCloth to create realistic cloth)
- Task 2.3: Using techniques shown in the previous video create a simple scene for your Chair and Table. For example use a plane as the floor and extrude the edges for walls.
Task 2.4 Model additions to your scene such as: Wine Glass and Plate using NURBS – Plate using poly modelling – Table Knife – Fork
Task 3 Coliseum: Coliseum Tutorial Video Part 1 – Coliseum Tutorial Video Part 2 (Includes time saving techniques using duplicate special)
Task 4 Toy Train: Creating a toy train 11 part series(Includes image planes, Align, bevel, make live, snapping, parenting, layers, isolation and optimisation.)
Task 5 Landscape Creation:
Basics: Creating basic Terrain – Creating basic water
Bring it together: Using different techniques to create a simple scene. Adding animation and Arnold: Creating animated Water and Skydome using Arnold
Advanced: Water Rendering using BOSS (External Link by Maya Learning Channel)
Task 6: Using the generate tool to paint foliage
Curve tool bonus: Wine Glass Surfaces Tutorial Video (Using the curve tool to create quick objects)
Curve tool bonus: Creating twisted rope (Using the curve tool – similar technique could be used for belts/flowing fabric)
To convert these curve tool tutorial Nurb objects to polys: Select Modify > Convert > Nurbs to Poly > Use these settings > Freeze Transformations & Delete History
Bonus: Baking Normal Maps in Maya using a high and low poly model (For best results bake normals in Substance Painter, see that section below for a video)
Bonus: Using deformers
Character Creation
Starting with a basic polygon cube with subdivision settings of: Width: 2, Height 5, Depth 1. Use the extrusion tool to create a low poly human character.
To set up your image planes go to View > Image Plane > Import Image, then select your file(s).
Low Poly Character Creation Tutorial (Link includes reference images) (No Sound)
Step 2: UV mapping models using Autodesk Maya

UV Editing Tutorials/Exercises
——–
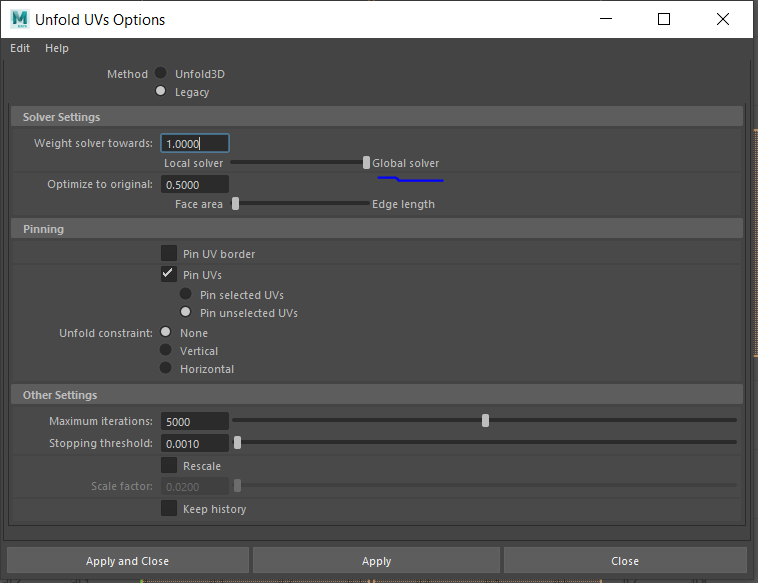
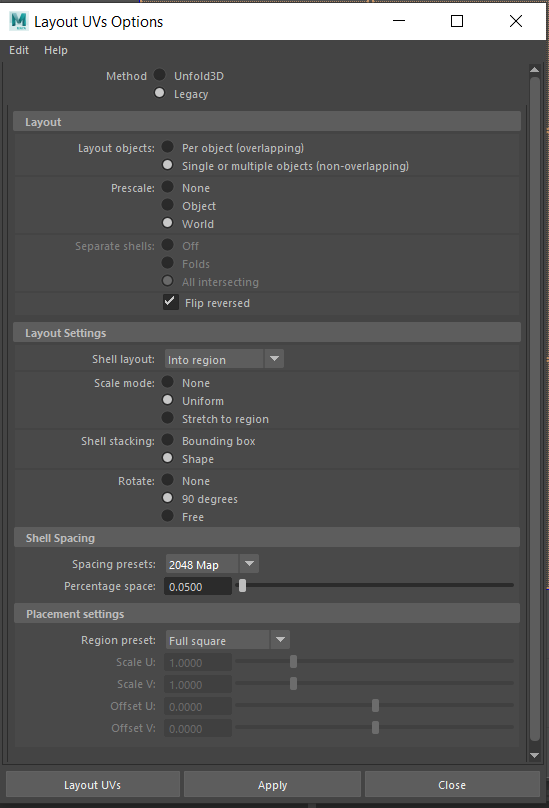
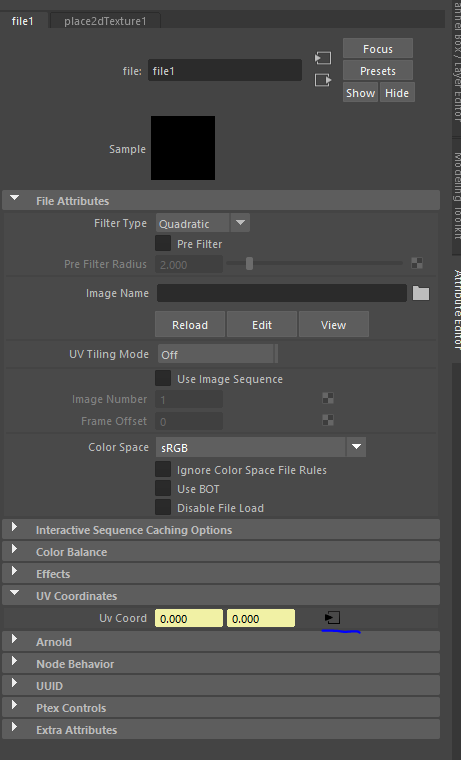
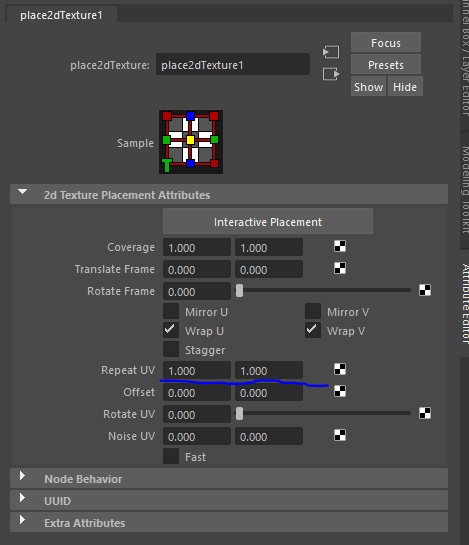
Quick Start Guide(Works well for non-organic models): Delete History and Freeze Transformations > 6 Plane Automatic Projection > Unfold Using These Settings > Layout using these settings > Apply Texture > Edit UV Coordinates > Adjust Repeat UV > Check Material positioning, use scale, rotate, cut sew etc on UV’s to align correctly if needed.
——–
Task 1: Basic Video tutorials showing the 5 different projection techniques:
Basic tutorial textures (Download ready to use for the following tasks)
A. Planar projection: Crate
B. Cylindrical projection: Cylinder
C. Spherical Projection: Sphere
D. Automatic Projection: Cereal Box
(Note it is recommended to delete history and freeze transformations for best results with automatic projection)
E. Camera Projection: Organic Object
Task 2: Robot Model Case Study (Download project files and follow video to complete a UV map and explore a well UV mapped model)
Task 4: Creating and texturing a Book
A. Three part low poly book modelling with UV Map and photoshop texture creation. (Images provided)
B. UV Mapping a higher poly book – (Download book model first then follow the video)
Task 5: Character UV Mapping: Soldier tutorial files (Download first) – Then follow: Soldier video tutorial
Step 3: Creating materials, applying textures and exporting your models
Substance Painter
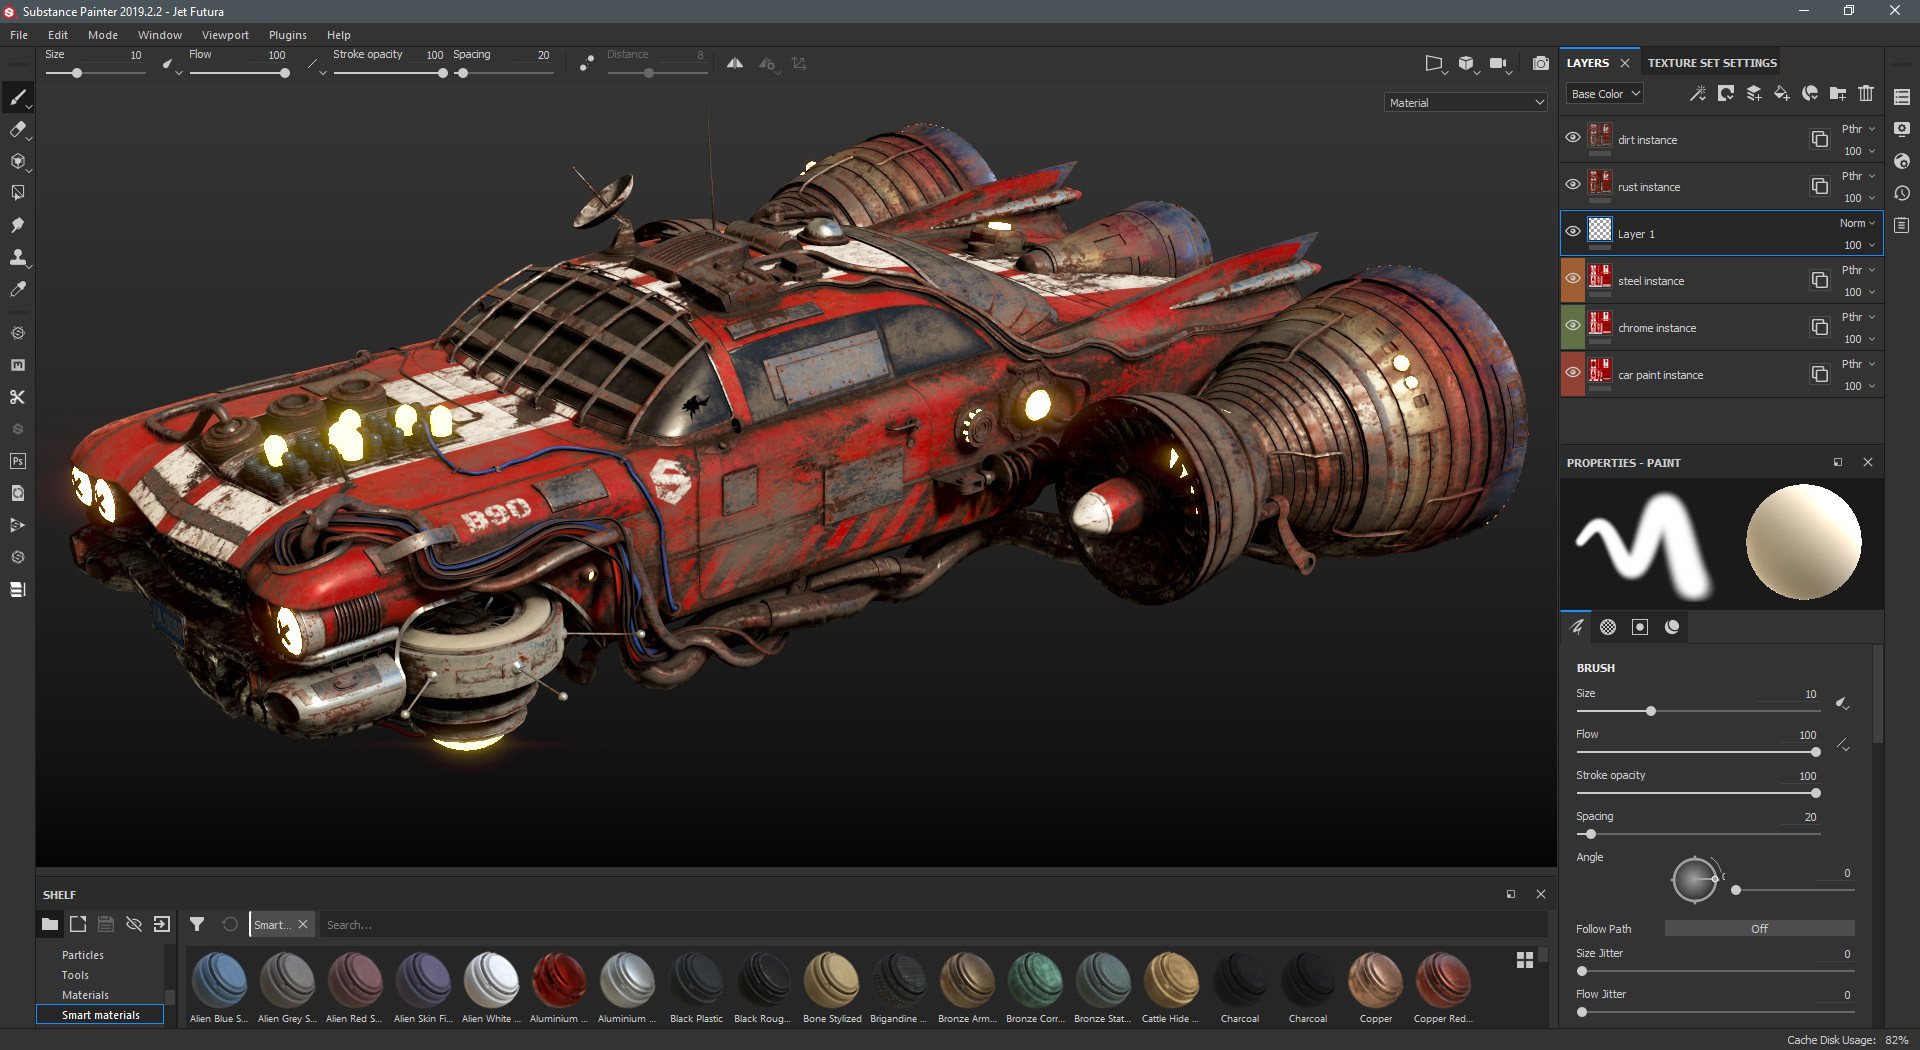
Video Tutorials on applying materials to your UV mapped model using Substance Painter. Get a FREE student license and download the software here: https://www.substance3d.com/education/
- Introduction to Substance Painter interface and features
(Two part quickstart guide to get you up and running fast! Interface, tools, layers and masks all included) - Maya to Substance Painter workflow guide
(Creating a low poly model for the background of a scene or game, quick UV map using Automatic projection and Exporting as an FBX. Use of polygon fill to quickly apply materials to the model) - Substance Painter to Maya (For Arnold Rendering) – Video Guide – Text Guide
(Rendering your scene using Arnold in Maya? This is the guide to get your textures from Substance back into Maya) - Substance Painter to Unreal 4 – Text Guide
(This is the guide to get your model and textures imported into Unreal correctly from substance) – NOTE: If your model has multiple meshes/materials/UV maps: In Unreal got to “File > Import into Level” to import into the level as actor. Do not use the normal asset import. - Substance Painter to Unity – Text Guide
(This is the guide to get your model and textures imported into Unity correctly from substance) - Substance Painter to Sketchfab – Video guide
(Get your model and materials from Substance directly uploaded to Sketchfab) - Beauty (IRAY) Rendering in Substance Painter
(Create a static image of you model and/or upload to artstation) - High to Low Poly baked normals in Substance Painter
(With a high and low poly version of the same model in Maya we’re ready to export to substance painter and bake a normal map)
(Optional) Step 4: Rigging, Animation and Rendering using Autodesk Maya
Rigging, Animation and Rendering Tutorials
Introduction to animation and using keyframes
Pixar “Luxo Jr.” style animation video guides:
- Modelling a basic desk lamp for animation
- Rigging a desk lamp – Part 1 – Part 2
- Lighting – Part 1 – Part 2 (Note this lighting setup will not work with Arnold)
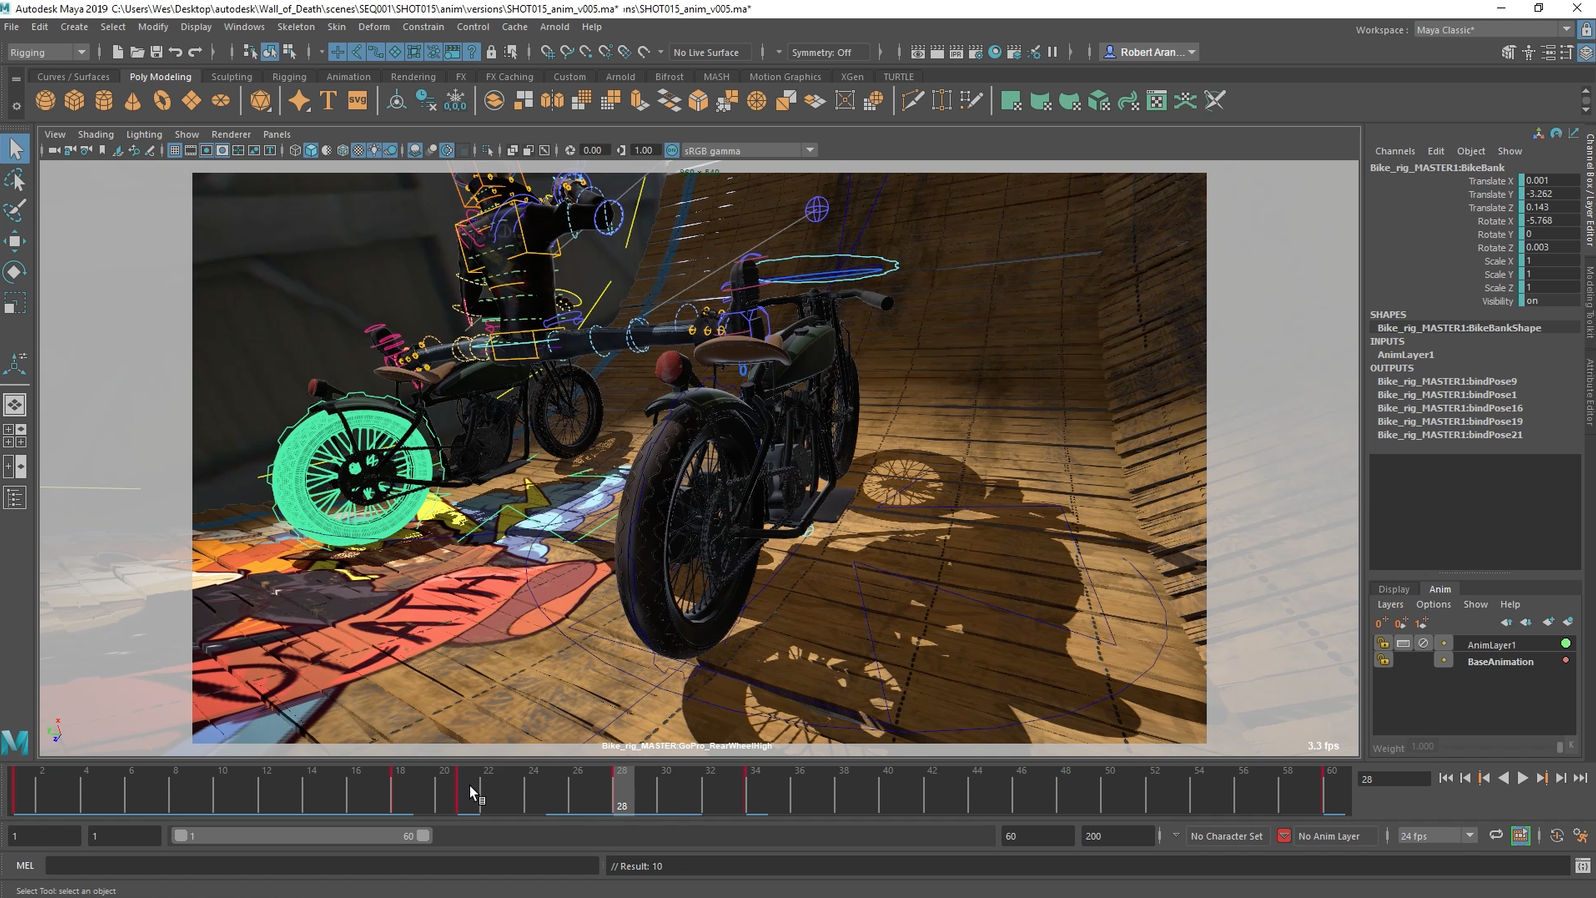
Rigging a vehicle with automatic vehicle rotation and motion path:
- Basic vehicle rigging with constrains and a expression script for automatic wheel rotation
- Adding a motion path for easier animation
nCloth FX and Animation
1. Creating an animated flag using nCloth FX
2. Exporting the flag (or any other nCloth animation) to Unreal Engine
Bonus: Two Sided Unreal Materials(Coming soon)
Other useful videos:
Cycling Animations (Loop an animation throughout the scene infinitely)
Arnold Lighting (Coming soon)
Two sided materials for Arnold (If you need the material to have different materials on either side of a plane, such as a flag etc)
Using the driven key – Using the driven key with deformers
Rendering guide (From Maya to After Effects to MP4(.264) video output):
Hardware 2.0 – (Music volume is high, my voice low. Be warned! Sorry)
Arnold – To avoid a water mark in the unpaid version click here
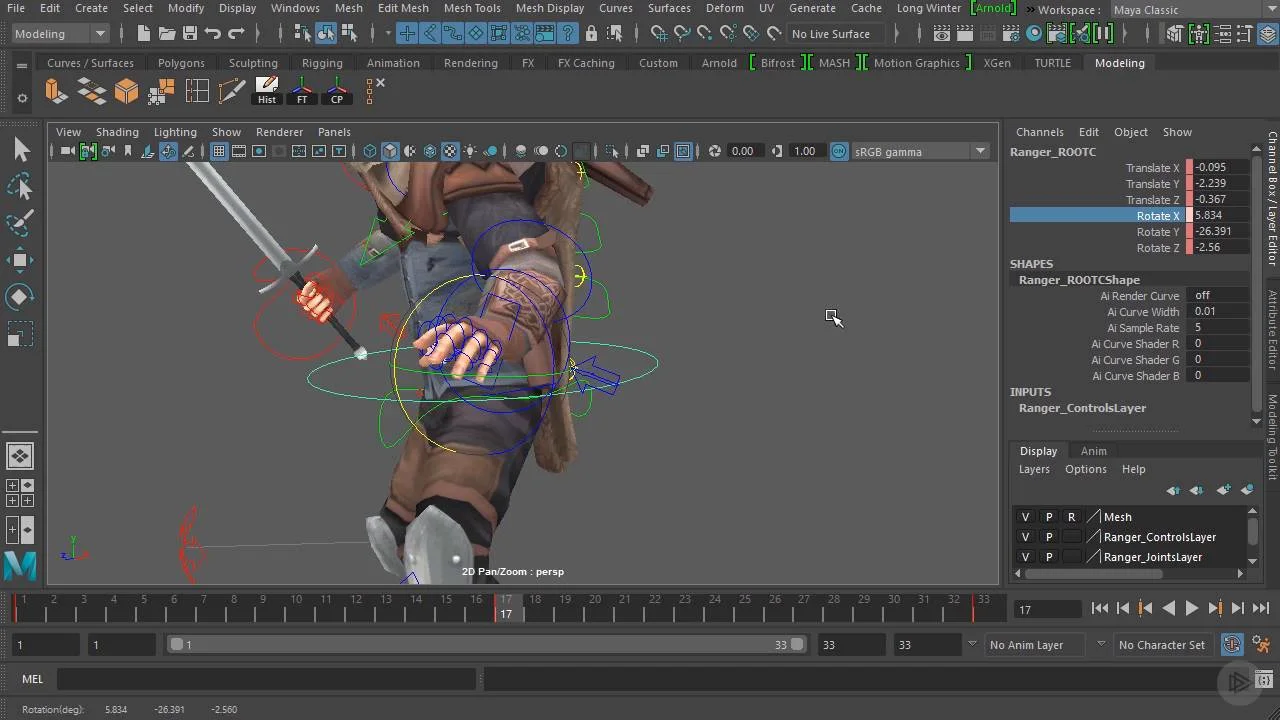
Character Rigging and Skinning
Quick start: Rigging and skinning a human character – Rigging – Skinning